Everett Headley 01.12.23
Electronics in the field are a sharp two-edged sword. One of the greatest draws of the wild is the absence of anything or anyone. Having a phone buzz in your pocket with a message to grab milk on your way is as unwelcome as a bird dog refusing a retrieve. The silver lining is capturing moments that live forever digitally. Most of these shots are just for myself, but we hunters have wanted to share the hunt since ocre on a frayed willow branch touched a cold stone wall. The cellphones we carry have good cameras that with a little help in the composition can deliver excellent results. They may never appear in your favorite hook and bullet magazine, but on your wall you’ll be glad you took a moment to get the right shot. Since I hunt solo often I’ve learned to become my own photographer, a skill that I continue to refine.
1: Use a Tripod.
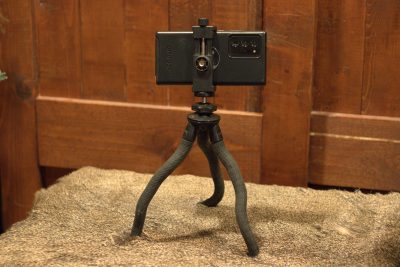
The classic extended arm look isn’t a great look anymore. The focus becomes what fills the frame, almost always your head tipped back revealing the sinuses. A small tripod with flexible grip legs weighs just a couple of ounces and can be wrapped around nearly anything: hiking poles, a tree, fence post, the top of a pack. Larger phones like my Samsung Note require a slightly larger tripod to handle the weight, so make sure to test before you put it in your pack. If you happen to be carrying a full size tripod for a spotting scope, an attachment for your phone can quickly be added. The stable platform allows you to frame the shot much nicer without having to reset after every shot.
2: Set the Scene.
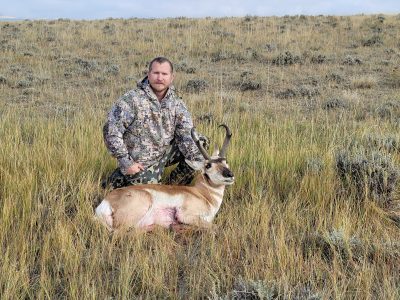
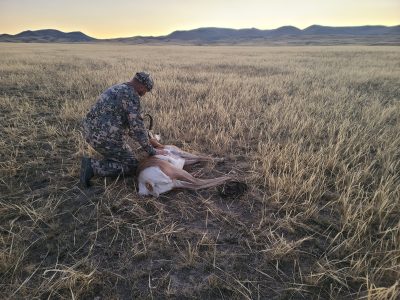
There are entire college courses devoted to this subject. None of us are trying to be the next Ansel Adams (I think), but taking the few moments to follow a few basic rules will make or break the photo. Equalizing the horizontal plane of the background and the camera is professional and pleasing to the eye. Hunting requires a kill (see Jose Ortega y Gassett) but if you hope to have a photo published, clearing the scene and animal of unnecessary blood will help. Including the weapon used is your choice, but make the animal the focus and keep it behind with you. Think about including other elements including habitat, unique sights, or farming equipment. Turning your phone horizontally, known as landscape, is more pleasing to the eye. A picture is the still of a larger story and more can be shared to bring the viewer closer to that moment.
3: Learn to Use Your Timer.
Most camera apps have at least a 10 second timer now, but if you can find one that is longer the race back to the camera becomes more of a walk. Check to see if it will shoot on burst, giving you a few pictures at the same time. This can save a shot when you blink or the wind kicks up unexpectedly. My Samsung Note has a pen with a Bluetooth button that is programmed to take a shot. I especially like to use this when it takes me a moment to maneuver behind an animal and raise a head.
4: Check Your Lighting.
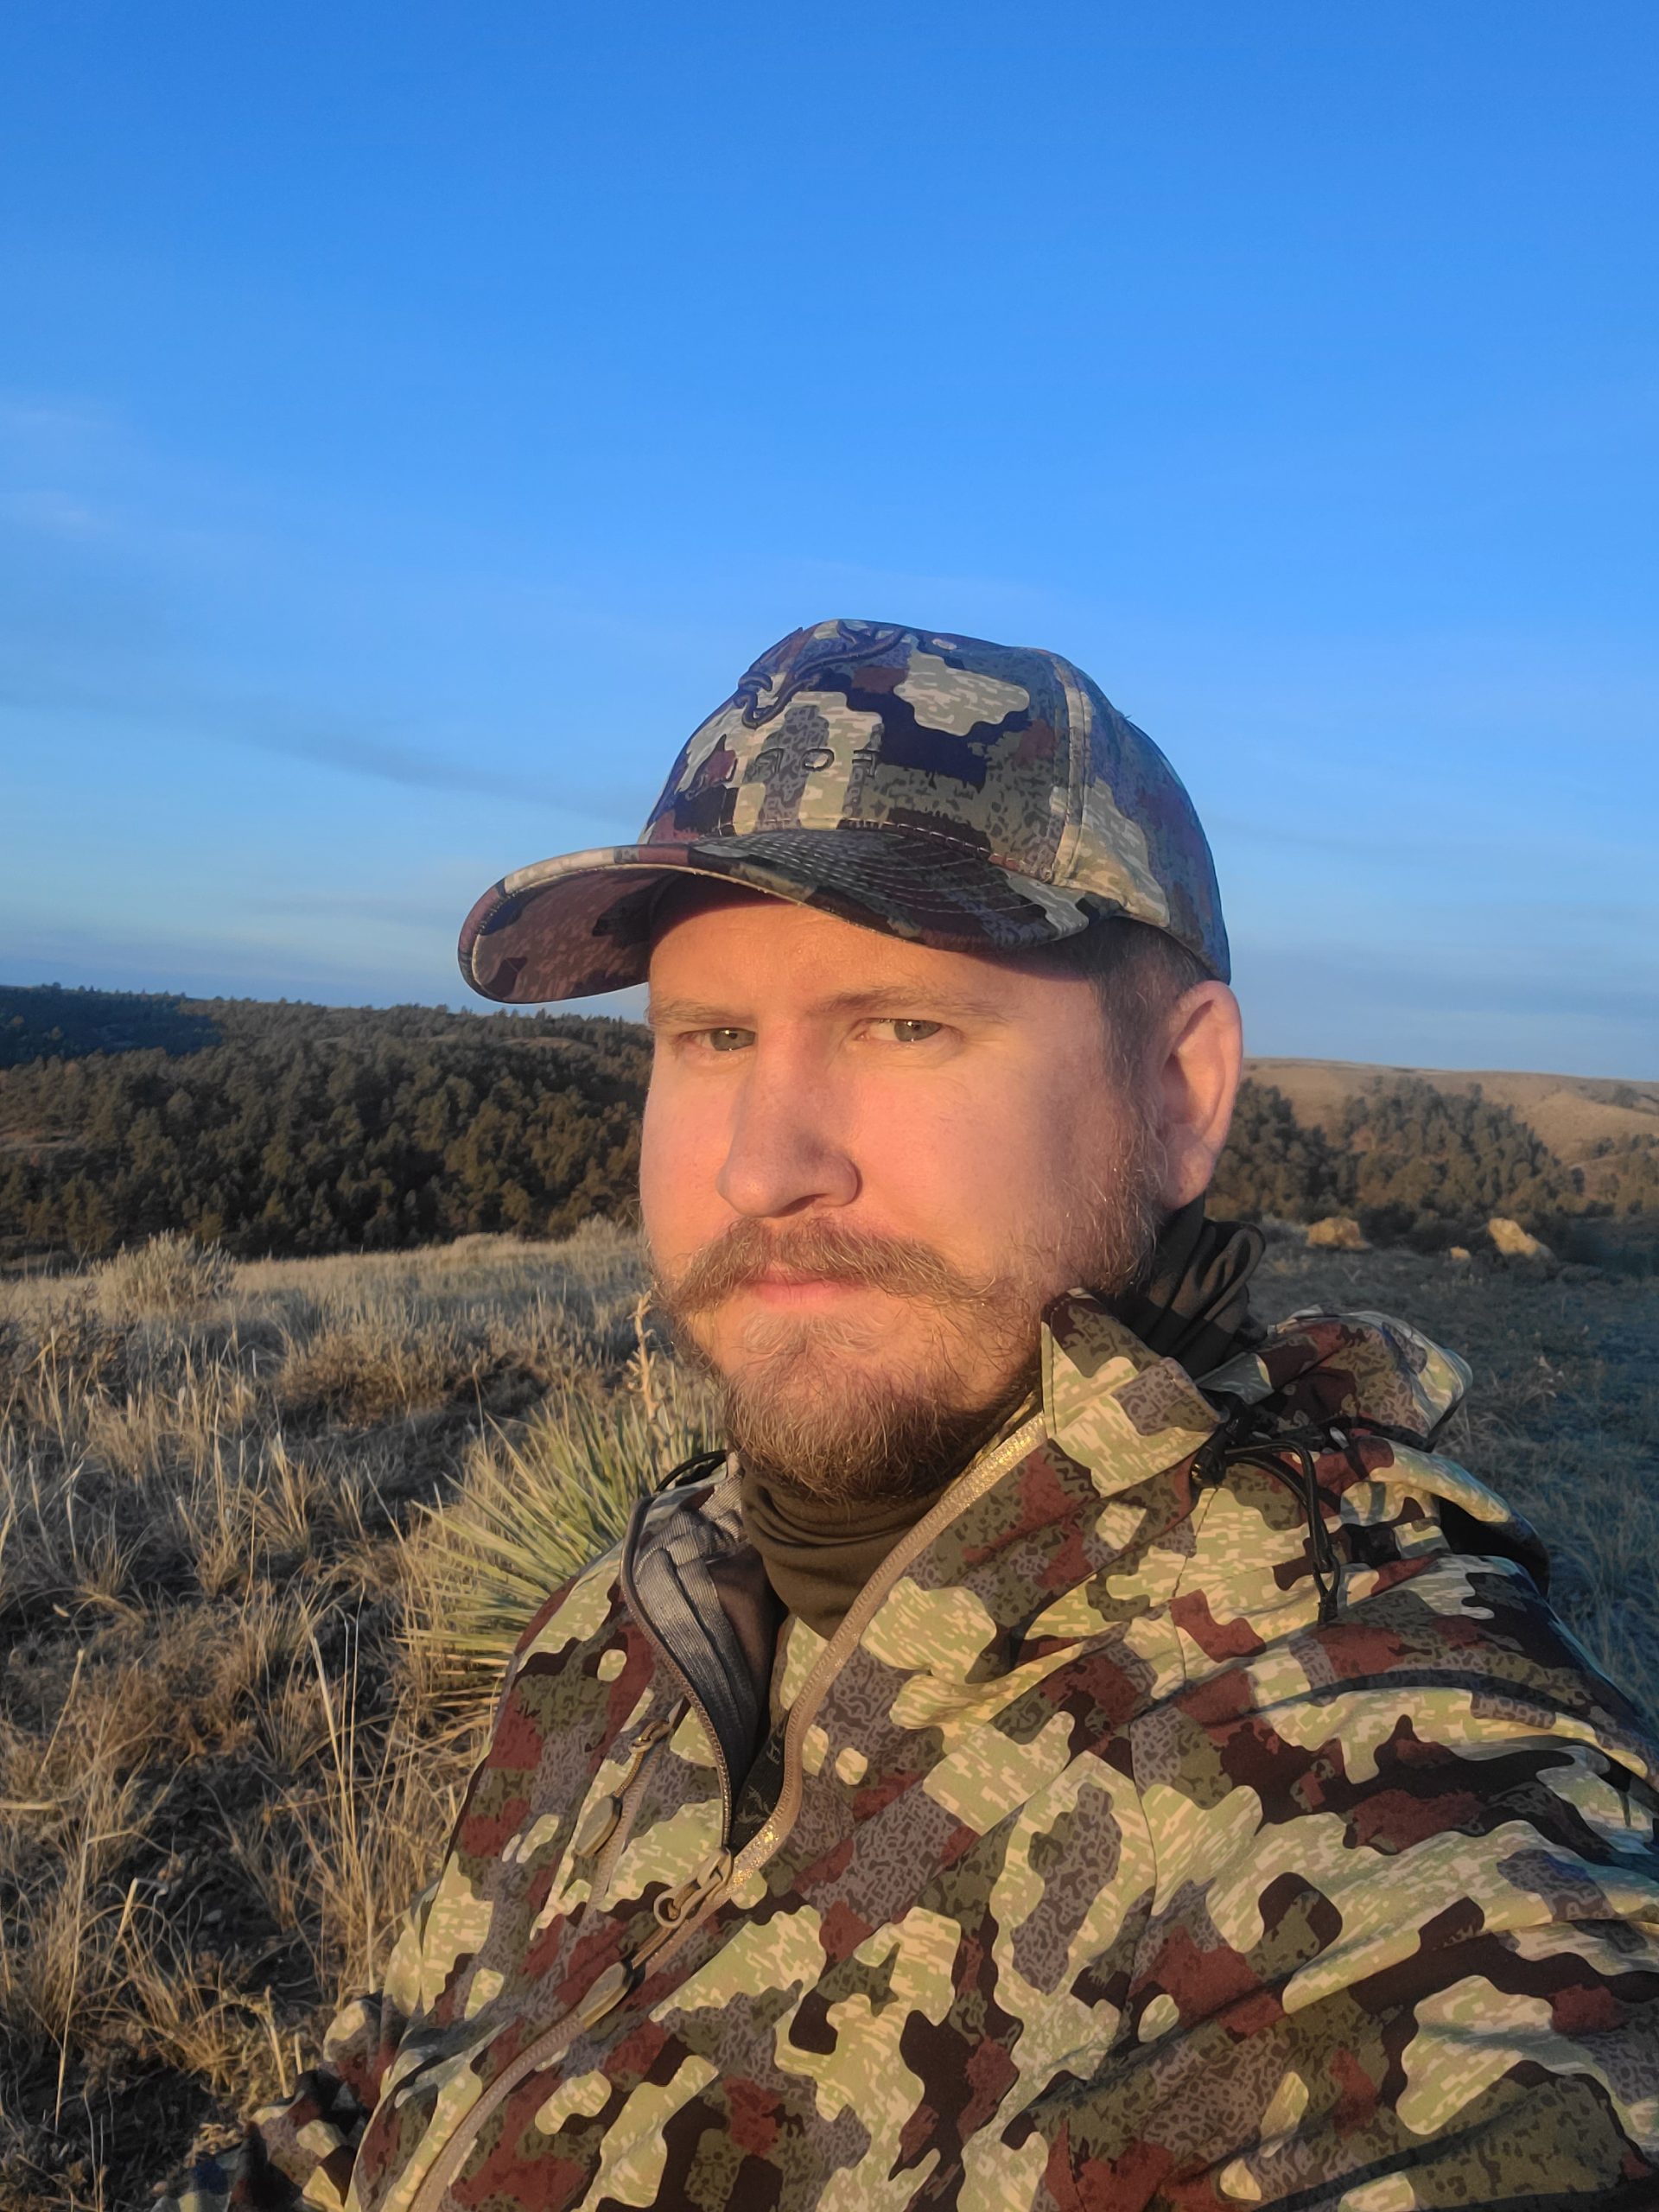
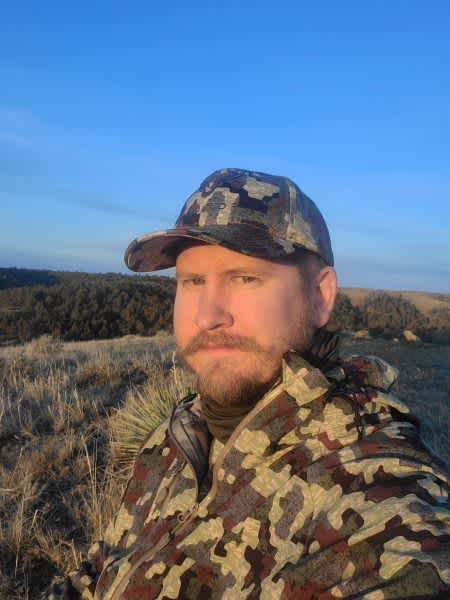
This is another area that could be expanded, however just a few keys will elevate your photo. Start with the sun behind or slightly to the side of your subject. Directly behind will likely cast shadows, but that can be filled in later in processing if needed. Having the sun in front will cause squinting and washed out shots. Next, check for shadows. Hats are usually the main culprit for hero shots and I typically remove them. If they need to stay on, tipping up slightly maintains the look but keeps the eyes out of the shadow of the bill. Shifting clouds can also change the lighting and shadow.
5: Review the Shot.
This is another pause that might save your photo from landing in your trash bin. Make sure the most important objects are in focus: you, the landscape, or the animal. Examine faces for blinking, squinting, or other unfortunate facial miscues. Look at the bright spots and shadows in the picture that might need adjustment. I will review several shots that might take several minutes, but it pales compared to the days spent hunting and the effort to finally get to the final moment. Taking several photos, from different angles and perspectives will give you several usable photos of the same moment.
6: Practice Before You Go Afield.
None of us take a weapon hunting without a trip (or hopefully several) to the range. Doing the same with your camera setup results in better and quicker takes. Proficiency found in practice provides perfection in play.

